Github Actions 101
In this post, I’ll dig into GitHub Actions, and attempt to make the case for why GitHub Actions could very well become the next Zapier (at least for programmers), by providing an example of how you can use GitHub Actions to easily automate your workflows.
Introduction
As a programmer, every time I hear about a labor intensive and manual workflow, I get the urge to do something about it and start thinking about how it could (and should) be automated. If you don’t code, you’d probably reach for a tool such as Zapier, and that might work great for awhile. For those who do code, however, these kind of tools are going to feel clunky, annoying, and full of limitations. As programmers, we like to be in full control of the data involved, and we want to be able to manipulate and rewire things as needed to fit the needs of our use case.
But writing a fully fledged “service” just for these kind of scenarios has its own drawbacks. You’d need to start out by writing the tedious core of the service. Things like authentication, token management, and notifications. You’d also inevitably need to manage some infrastructure and think about things such as deployments and uptimes. These kind of hurdles kill momentum. And this kind of overhead is simply unacceptable for dead simple if-this-then-that workflows, for a programmer interested in efficiency — and that’s where GitHub Actions come in.
I must admit that I did not fully comprehended how powerful GitHub Actions were when I first started working with them. The focus back then was on continuous integration and continuous delivery flows, and I did not fully get that GitHub Actions so much more. They’re essentially just a fully managed, lightweight compute engine built into the GitHub ecosystem — with an accessible API and a growing ecosystem of “plugins and tools”.
Five fun “facts” about GitHub Actions
- GitHub Actions are intended for CI/CD workflows, and provide an event based API to trigger compute workflows
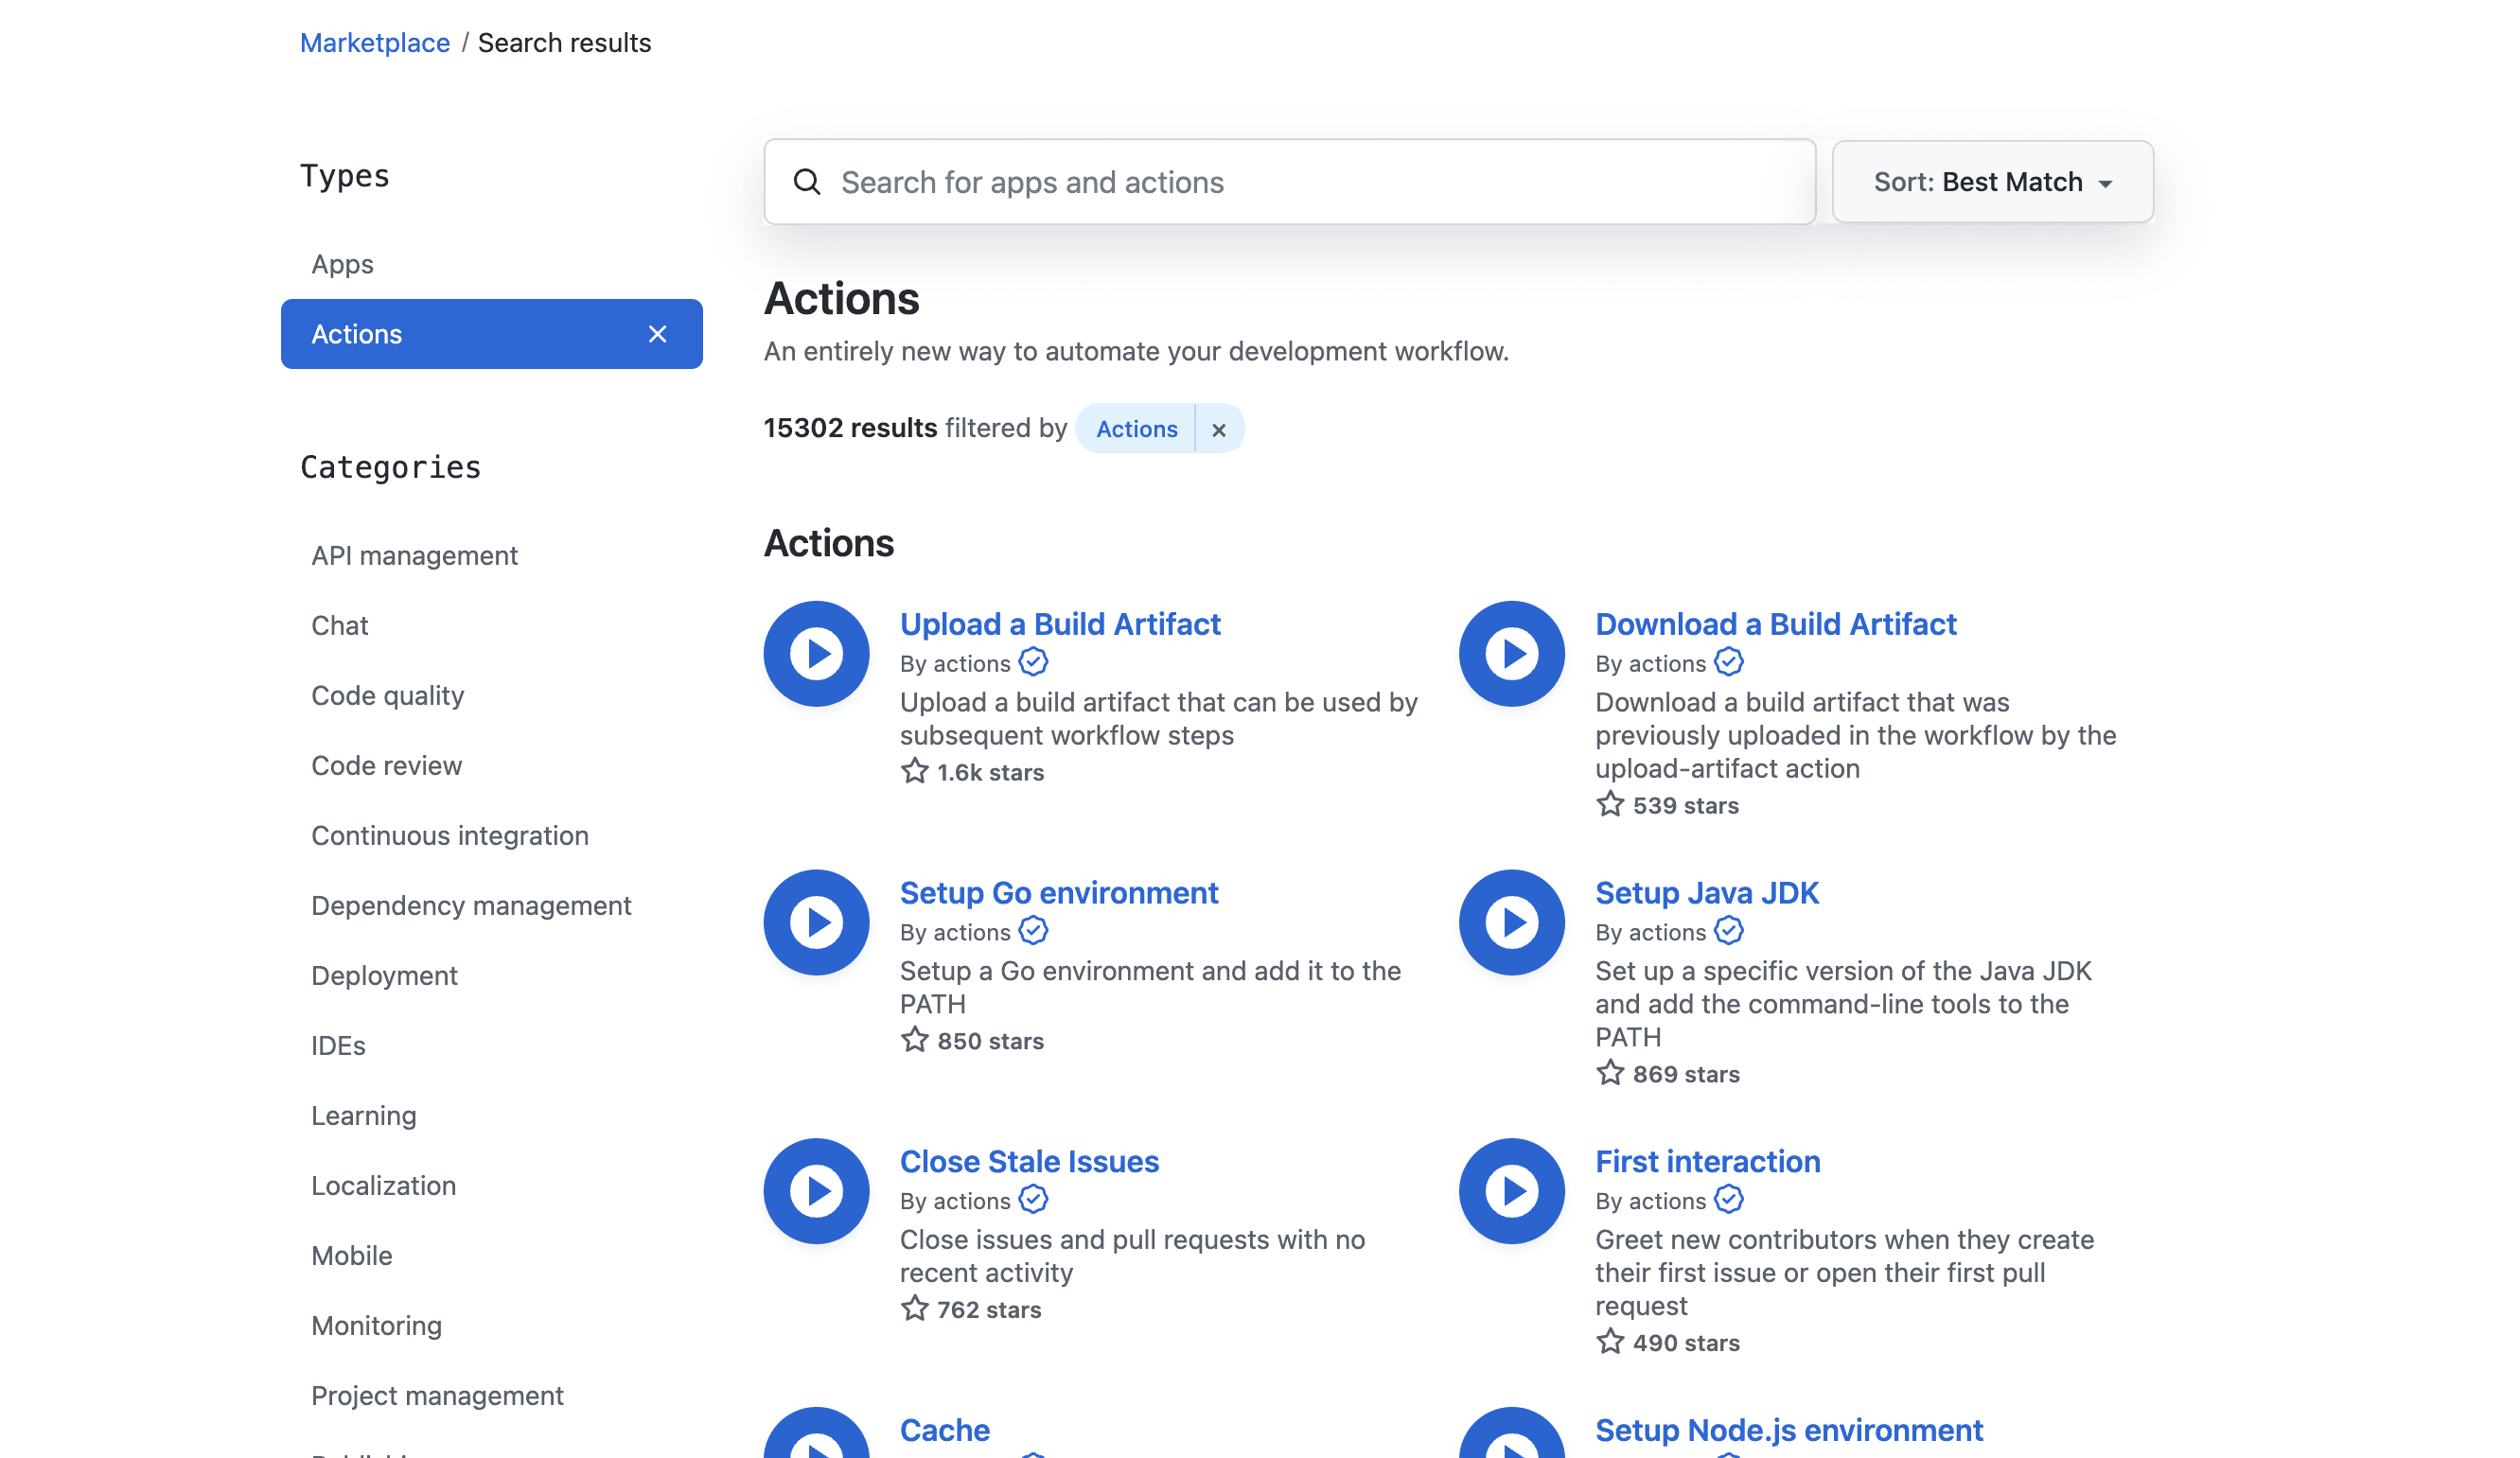
- You can easily create your own custom actions or tap into the growing action ecosystem and use actions built by others as building blocks
- They fit effortlessly into the GitHub ecosystem which makes things such as notifications, task management (pull requests, issues), and secret managment trivial and built in
- GitHub Actions live inside your repository so they’re version controlled along with the rest of your code
- You get 2.000 minutes of compute per month for free (and 50.000 minutes for 21$)
A “real world” example
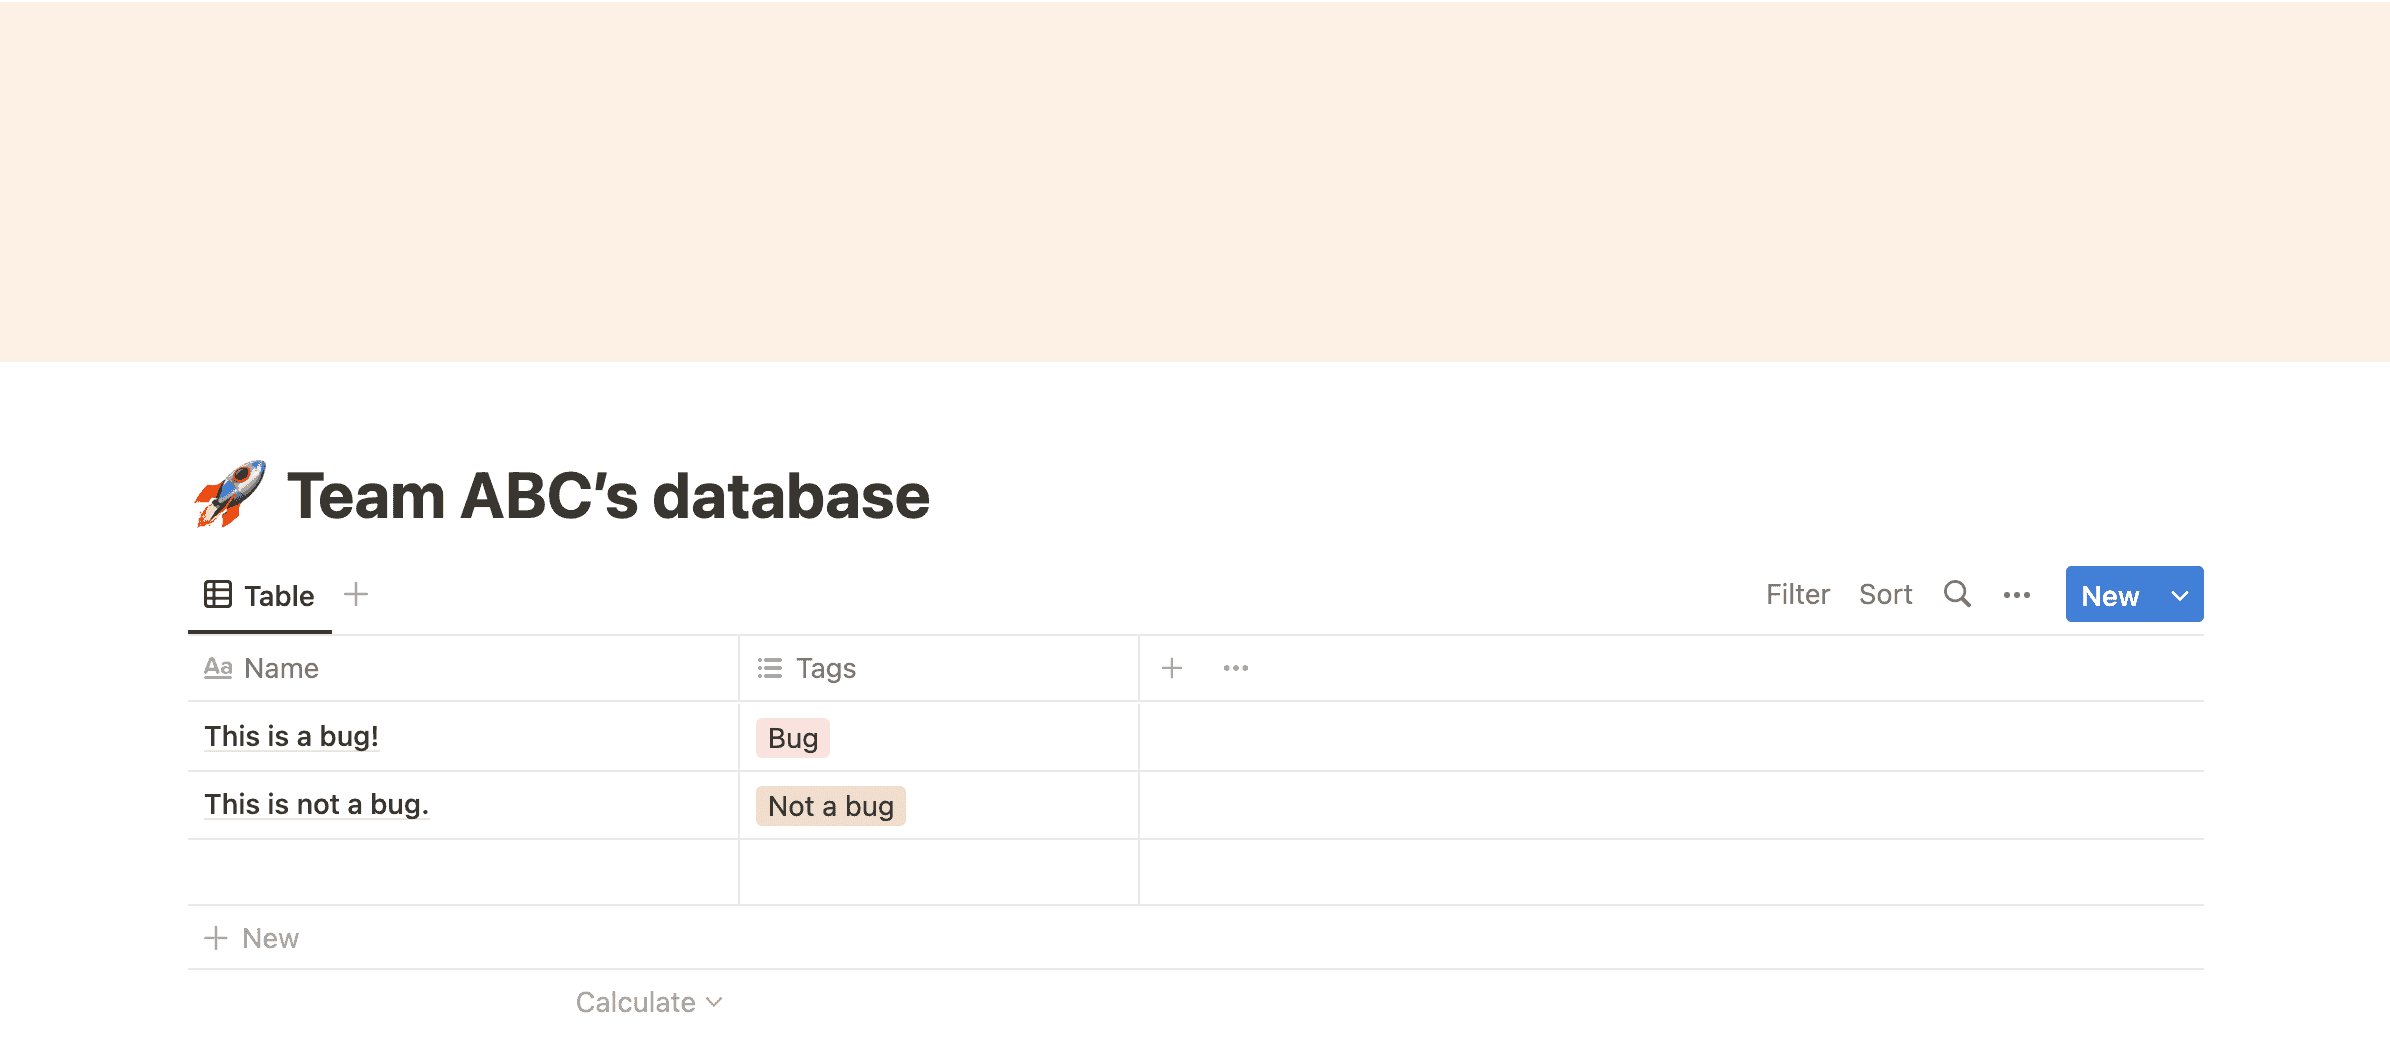
To try and make it clear just how simple it is to get started with GitHub Actions, let’s go through a simple example just to get the feel for how this might work. Let’s say that you are a part of a team that has a mix of programmers, designers, and product managers. The product managers and designers prefer to organise their work in Notion, while the programmers prefer to organise as many things as possible on GitHub. When a bug comes along, the product manger creates a new item in a Notion database. Once a programmer notices a new bug on Notion, they go ahead and recreate a copy of the bug in a GitHub Issue. They do this so they can easily keep track of it and link it to pull requests and such. If you’re thinking to yourself “This seems like a lot of manual work!”, then we’re in luck! Automating things like these is a breeze with a simple GitHub Action workflow.
First we’ll create a custom GitHub Action that’s responsible for calling the Notion API, and to query the teams database for all items in the database with the tag Bug . This custom action is then going to create a new GitHub Issue for each of the bugs that don’t already have a GitHub Issue already. Finally, we’ll create a GitHub Action workflow that runs once a day. Each time our workflow runs, it will trigger our newly created custom action, which will take care of creating the missing bugs as GitHub Issues.
Setting things up
The first thing we need to do when creating new GitHub Actions is to set up the correct directory structure. Inside the repository, we want to add a new .github directory, with the following subdirectories and files:
.github
|__actions
|  |__notion-to-gh-issues
|     |__node_modules/
| 		|__index.js
|     |__package.json
|			|__action.yml
|__workflows
	 |__sync-notion-to-gh.yml
.github/actions/notion-to-gh-issuesis the directory that contains everything related to our custom action.action.ymldefines things like the actions input and output values, whileindex.jscontains the actual source code..github/workflowscontains the workflow definitions. In our case we want to create a workflow that periodically queries our Notion database and creates new GitHub Issues if necessary.
Creating a custom action
Let’s dig into the details of our custom GH action by starting at the “entry point”, which is action.yml:
name: "Notion to GH Issues"
description: "Queries a Notion database and creates GitHub Issues for the records given a condition"
inputs:
  githubToken:
    description: "GitHub Secret"
    required: true
  notionDbId:
    description: "Id for Notion database to query"
    required: true
  notionApiToken:
    description: "Notion API token"
    required: true
  tagColumnName:
    description: "Notion database property to look at"
    required: true
  tagValue:
    description: "Notion database cell value to filter on"
    required: true
runs:
  using: "node16"
  main: "index.js"
The most important things to look at here are the inputs. These are values that the user of this custom action must provide for the action to work. These values can then be used inside the action. We also need to define the runtime of the action (node16) and where to look for the source code (index.js), which we’ll look at next.
Let’s start by navigating to our custom action directory and initialize the project:
cd .github/actions/notion-to-gh-issues
npm init -y
# Install Notion API client, GitHub API, and Github core
npm i -S @notionhq/client @actions/github @actions/core
Next up, let’s write the actual source code for our custom action:
// Source code for our custom action

const github = require("@actions/github");
const core = require("@actions/core");

const { Client } = require("@notionhq/client");

const GITHUB_USERNAME = <Your Github Username>;
const GITHUB_REPO_NAME = <Your Github repository name>;

const notionPageTitleToIssueTitle = (pageTitle) => {
  return `[Bug] ${pageTitle}`;
};

const issueTitleToNotionPageTitle = (issueTitle) => {
  return issueTitle.split(`[Bug] `)[1];
};

const notionPagePropertiesToTitle = (notionPageProperties) => {
  return notionPageProperties.Name.title[0].plain_text;
};

async function run() {
  const githubToken = core.getInput("githubToken");
  const notionDbId = core.getInput("notionDbId");
  const notionApiToken = core.getInput("notionApiToken");
  const tagColumnName = core.getInput("tagColumnName");
  const tagValue = core.getInput("tagValue");

  const octokit = github.getOctokit(githubToken);
  const notion = new Client({
    auth: notionApiToken,
  });

  const newIssueCandidates = await notion.databases.query({
    database_id: notionDbId,
    filter: {
      property: tagColumnName,
      select: {
        equals: tagValue,
      },
    },
  });

  const { data: issuesFromRepo } = await octokit.rest.issues.listForRepo({
    owner: GITHUB_USERNAME,
    repo: GITHUB_REPO_NAME,
    per_page: 100, // Ignore pagination for now
    state: "open",
  });

  const existingIssueIds = issuesFromRepo.map((issue) =>
    issueTitleToNotionPageTitle(issue.title)
  );

  const bugsThatNeedIssuesToBeCreated = newIssueCandidates.results.filter(
    ({ properties }) =>
      !existingIssueIds.includes(notionPagePropertiesToTitle(properties))
  );

  bugsThatNeedIssuesToBeCreated.forEach(({ properties, url }) => {
    octokit.rest.issues.create({
      owner: GITHUB_USERNAME,
      repo: GITHUB_REPO_NAME,
      title: notionPageTitleToIssueTitle(
        notionPagePropertiesToTitle(properties)
      ),
      body: url,
      assignees: [GITHUB_USERNAME],
    });
  });
}

run();
Since this is only a simple example, we’re ignoring important things such as pagination. But we can quickly see that there’s not really much complexity involved here. We’re using a simple Notion API client to fetch our bugs. Then we’re using a library to access the GitHub API (octokit), and we use another library (@actions/core) to access variables passed to the action (the inputs from .github/actions/notion-to-gh-issues/action.yml). Other than that, this is just plain old vanilla JavaScript code, with all the flexibility that comes with it.
One counterintuitive thing to keep in mind is that you’ll need to upload the node_modules folder in the custom actions directory to your repository. There are ways around that but we won’t dig into that here.
Building the workflow
Now that we’ve created a custom action, it’s time to configure the actual workflow. The workflow will be a CRON job that runs at the end of every day.
name: Sync Notion Bugs to GH
on:
  schedule:
    - cron: '0 0 * * *' # At the end of every day
jobs:
  Sync-Notion-Bugs-To-GH:
    runs-on: ubuntu-latest
    steps:
      - name: Checkout repository
        uses: actions/checkout@v2
      - name: Call Notion API and create issues
        uses: ./.github/actions/notion-to-gh-issues
        with:
          githubToken: ${{ secrets.GITHUB_TOKEN }}
          notionApiToken: ${{ secrets.NOTION_API_KEY }}
          notionDbId: <NOTION-DB-ID>
          tagColumnName: Tags
          tagValue: Bug
The workflows describes which event it should listen to, which in our case is a CRON schedule. We then define a job within the workflow that starts by checking out the repository and cloning it into the environment that will run the action. This is necessary since we’re using a custom action defined inside the current repository. After cloning, the next step is to run our custom action, where we pass in some necessary variables (githubToken, notionApiToken , notionDbId, tagColumnName and tagValue). Here we’re using GitHub Actions Secrets to securely store the Notion API token. The only thing we now need to do is to push our code to our GitHub Repository, and voila! We’ve successfully synced a bug created on Notion into a GitHub Issue.

Summary
In this article, I’ve tried to make the case for why I think GitHub Actions are the perfect tool for programmers wanting to automate labor intensive digital workflows. With GitHub Actions you can easily create your own custom programs, or use programs from the marketplace as building blocks for your workflows. For programmers that are tired of low-code tools with limited flexibility, such as Zapier, I think GitHub Actions can be a great alternative! I’m very much looking forward to seeing how the community driven marketplace will grow over time.